Before & After Cedar Wall
Aren't before and afters fun? Well I have another one for you. The good news is this before and after is fairly simple so you can easily implement it in your own home. We thought up this idea but by no means do we claim to be the original Cedar Wall inventors. We are pretty pumped about it though.
The Scene:
On Sunday, we were drinking coffee and talking about the house. I mentioned that I would love to get something to cover up the back of our closets and the shoes. This had always been in the plan but we never had decided on what we wanted to cover it up with!
So, in typical Derek fashion, he says we should head to some home improvement stores and see if we can come up with any ideas. By our second store (Home Depot), we stumbled upon packs of outdoor cedar siding which was the exact length of our wall. I was GIDDY. *one reason was because I thought the pack of siding was $6. Come to find out, that was per piece...but still* GIDDY! We bought the cedar, hustled home, and within 3 hours we had ourselves a fantastic wall.
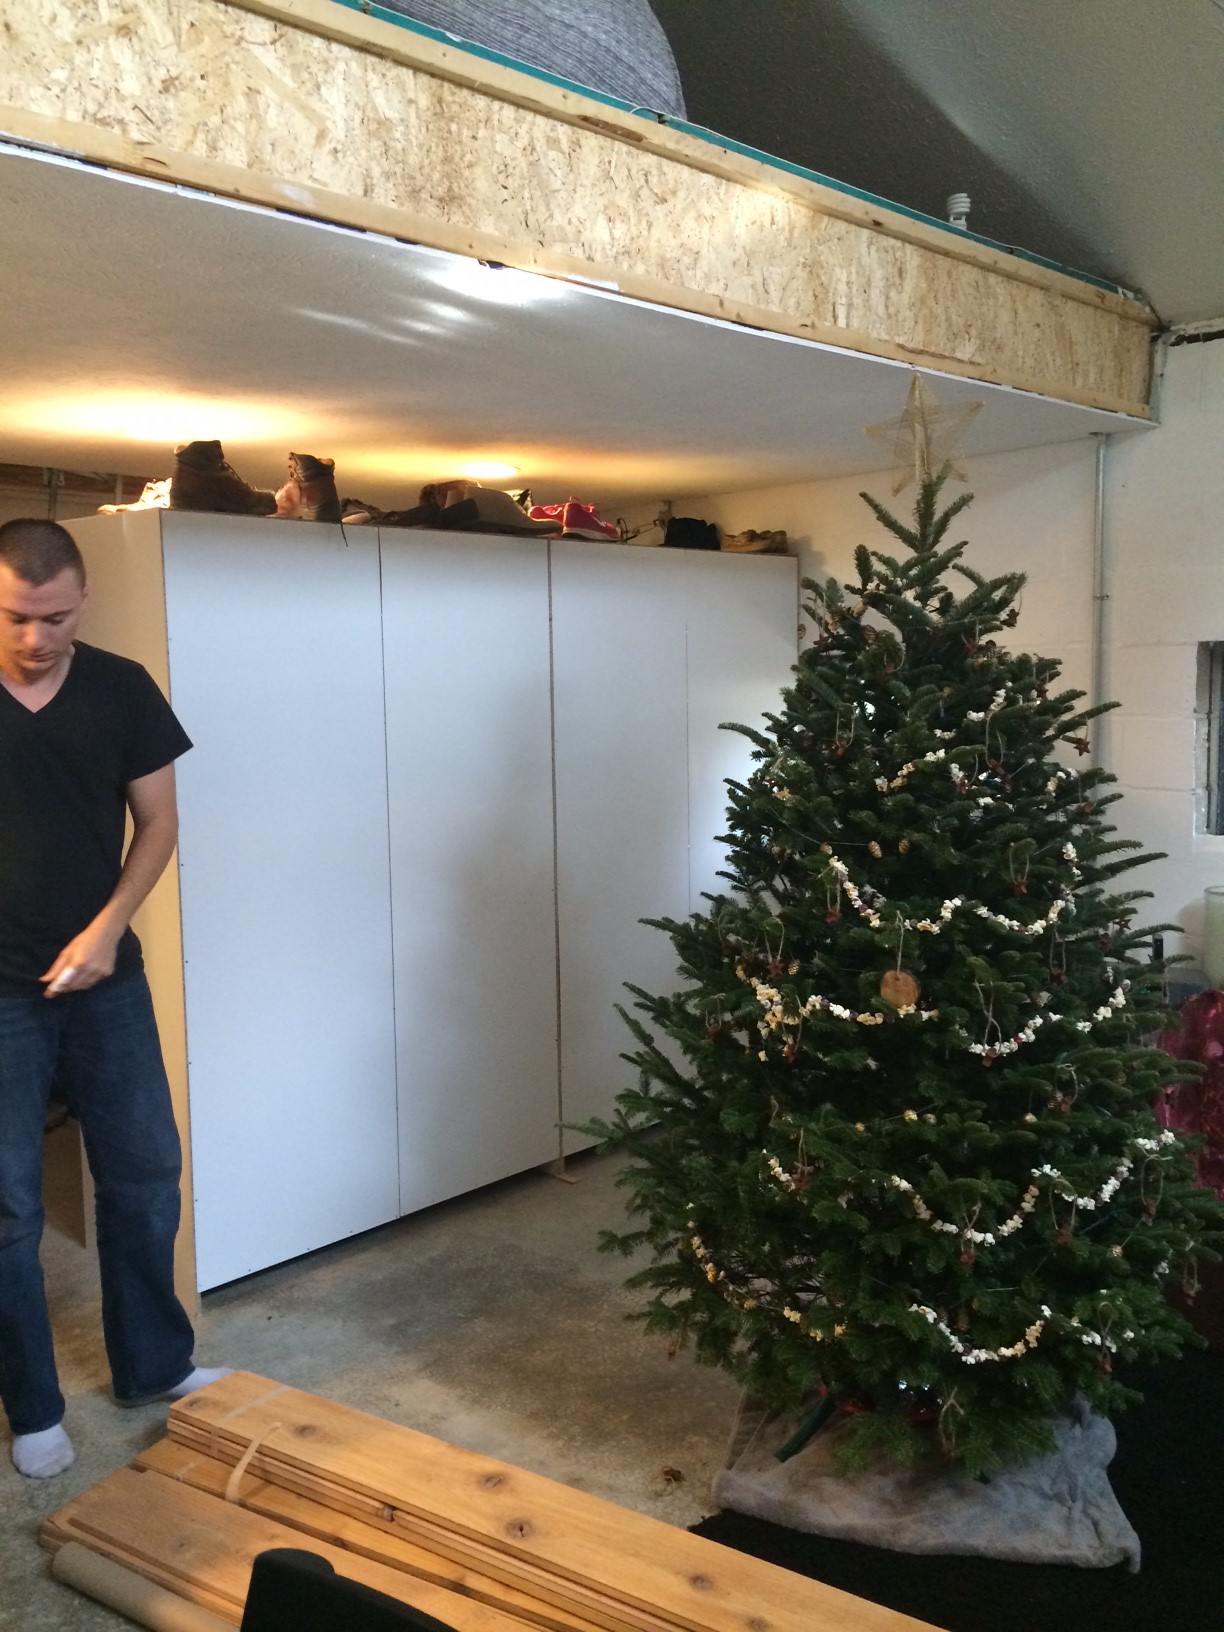
BEFORE: We like our little shoe nook but it isn't the classiest thing to walk in and see. Remember, the white wall you see is actually the backs of 2 Ikea closets smooshed together.

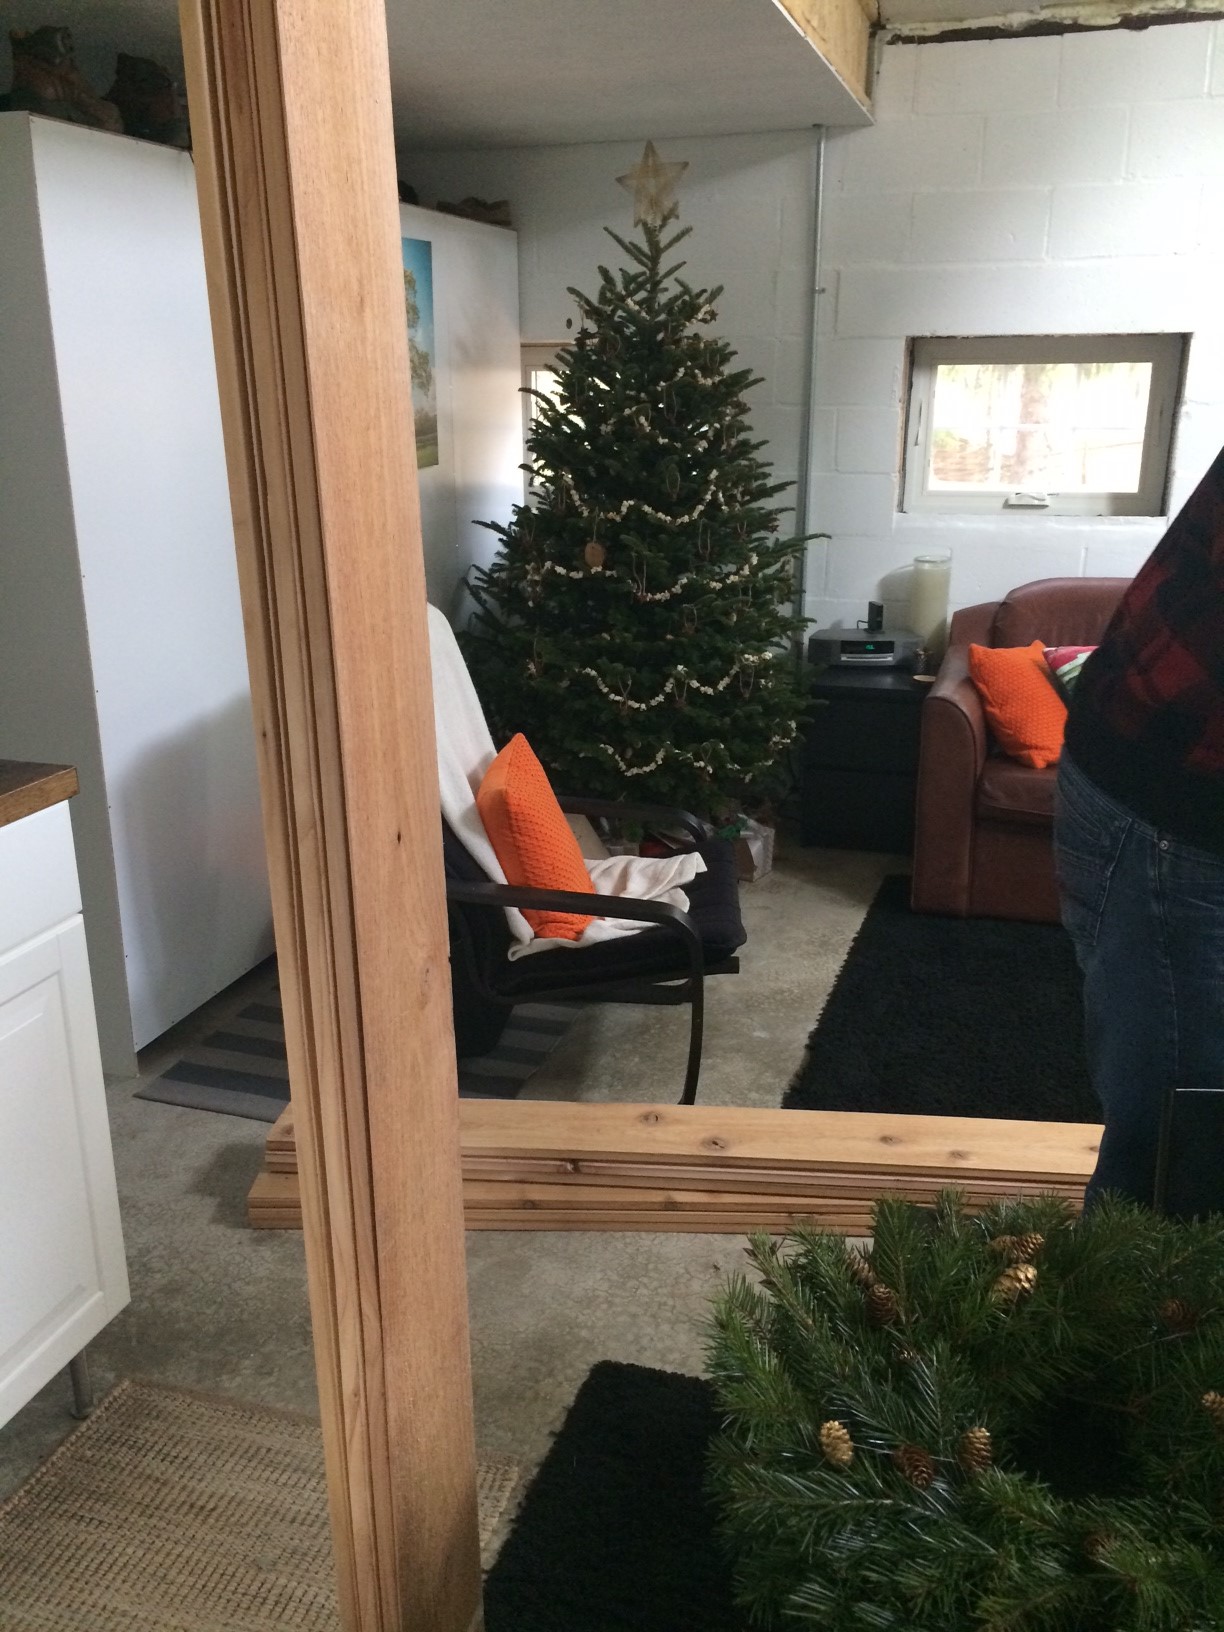
Since the boards were the exact length we needed, there was no trimming needed (except once we got to the top).
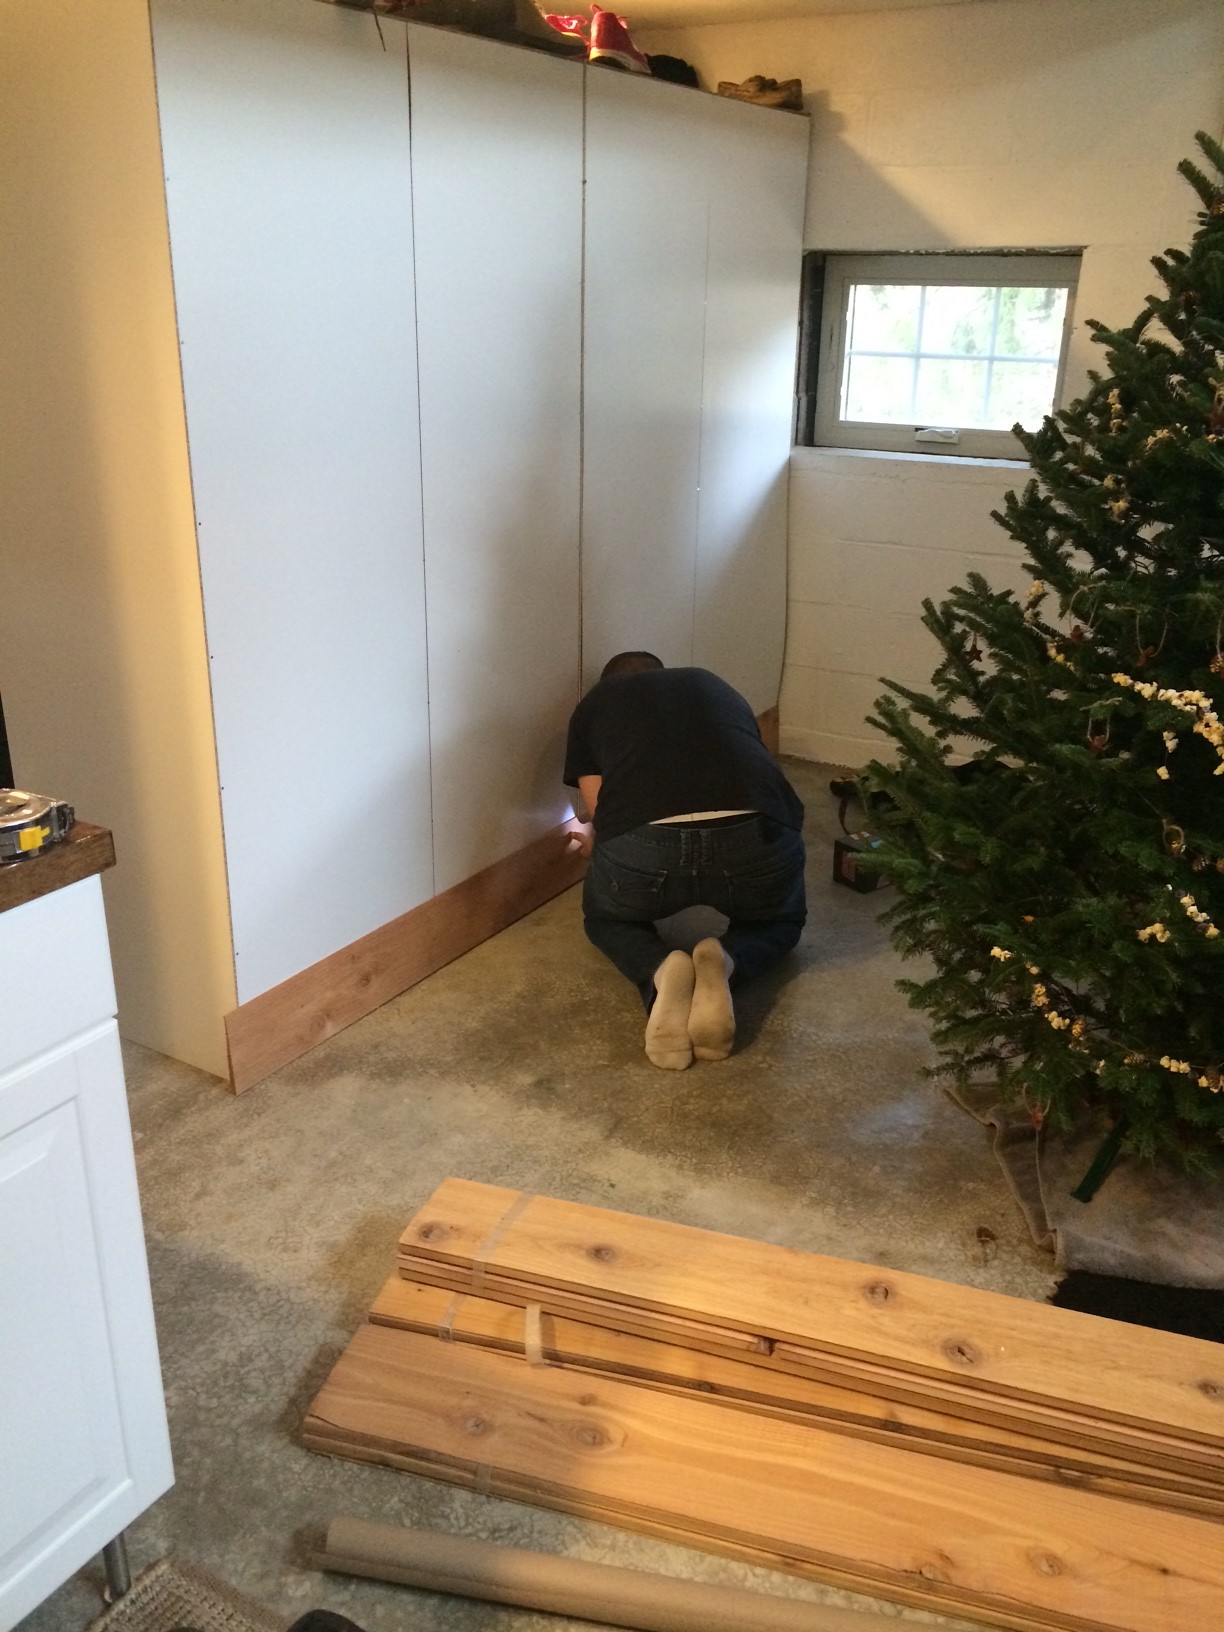
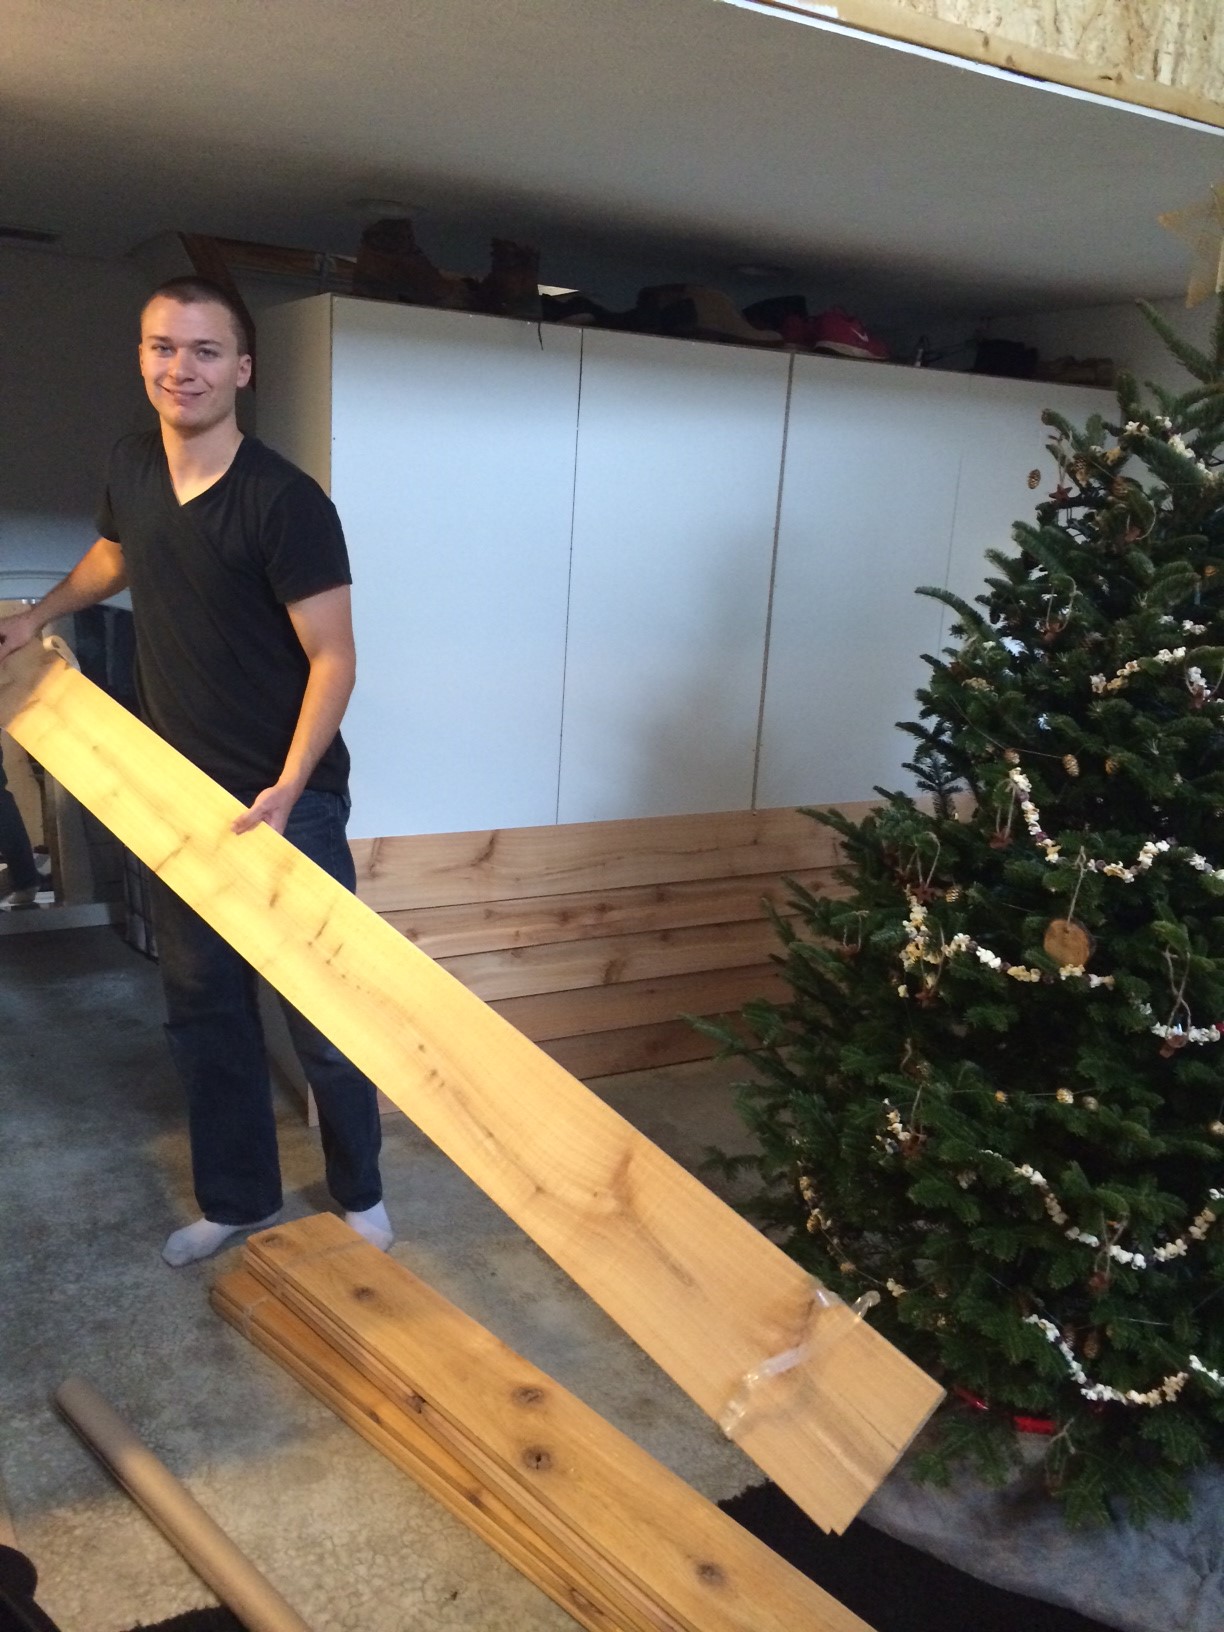

All we needed was a bit of leveling, some screws, and a drill!

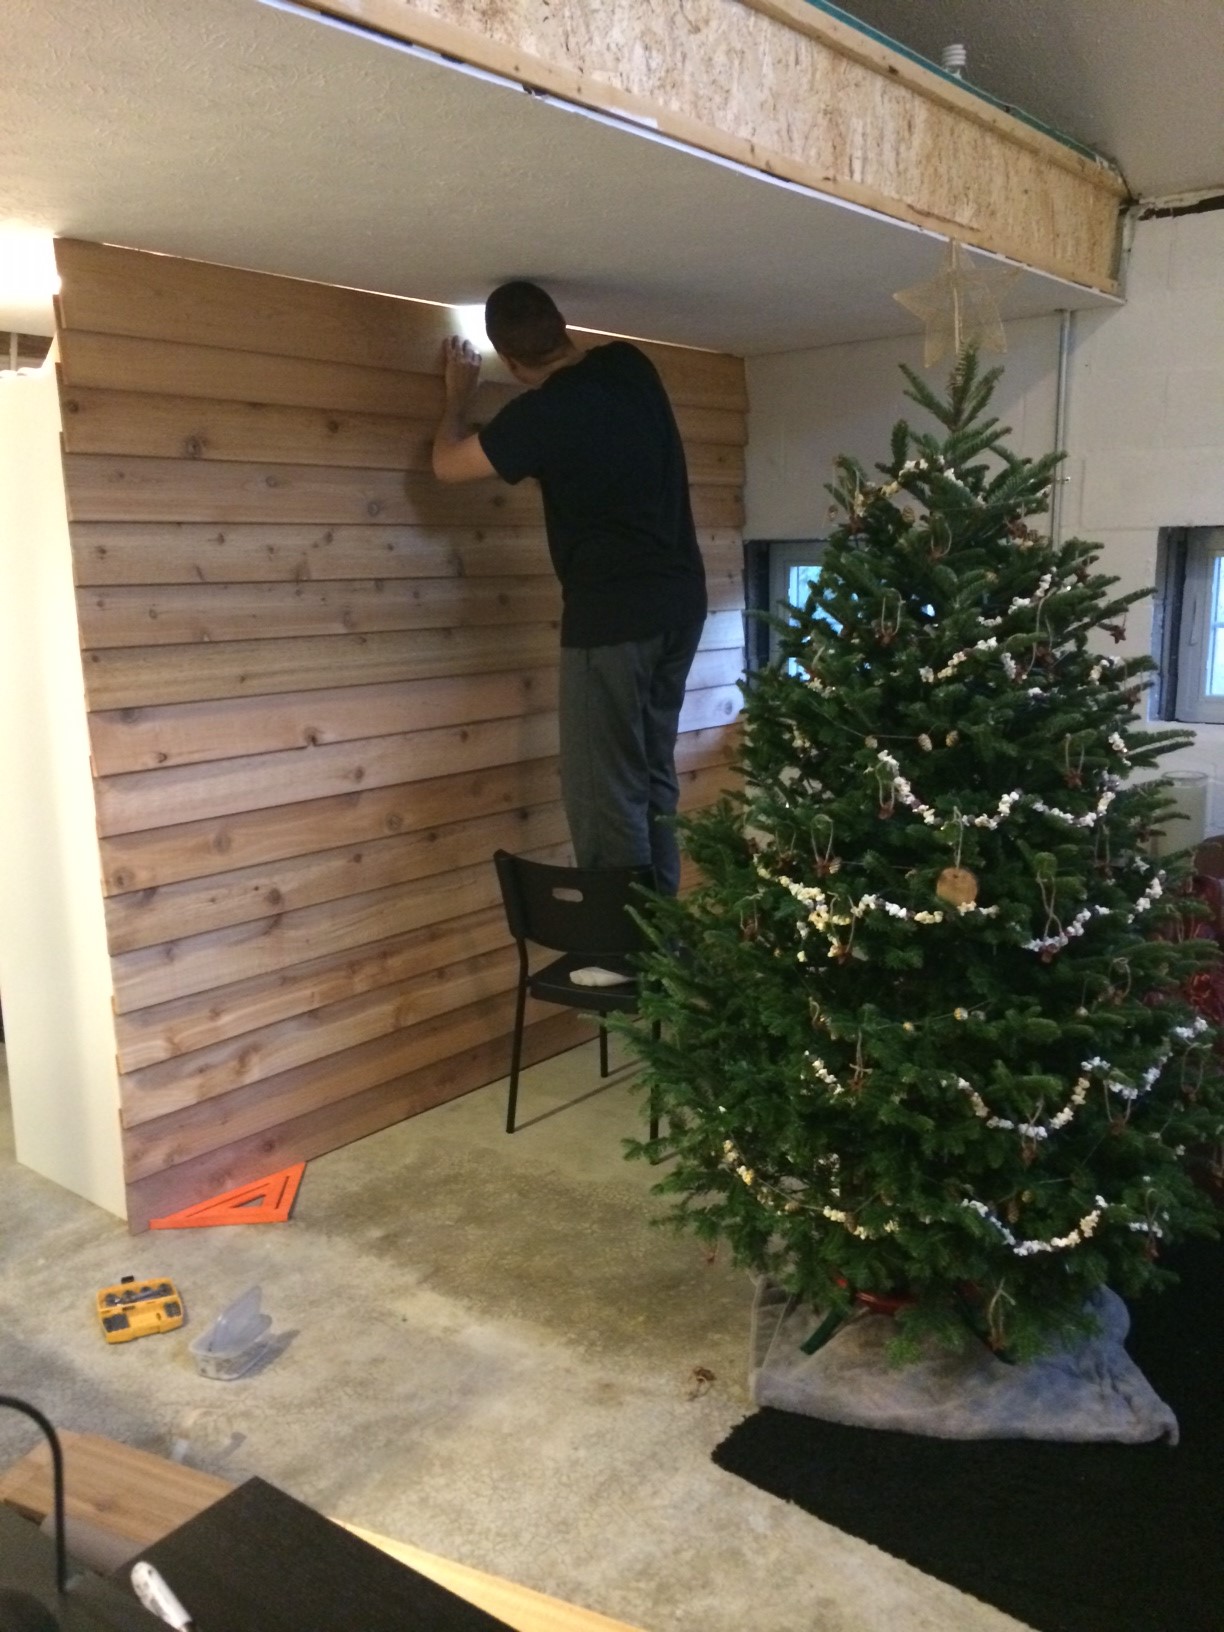
Derek took a piece down to his "shop" (Longshot) and cut a piece to finish off the top.
TA DA! We love the accent wall and it really makes it feel more snuggly in here...the tree doesnt hurt either!


Sorry folks, no injury stories to go along with this DIY project....
but
Merry Christmas from the Lavenders!
